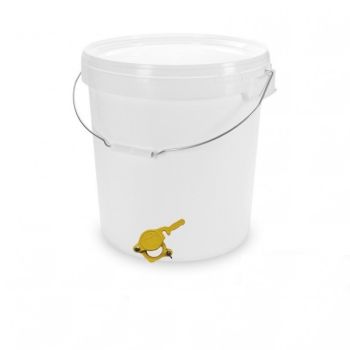
53,00 €Precio base-19,00 €72,00 €Precio


(0,15 € al metro)
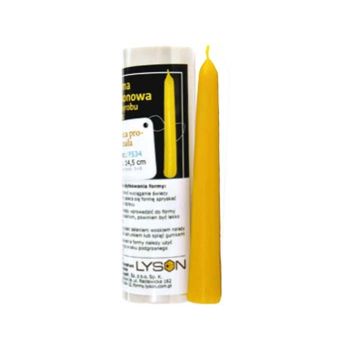
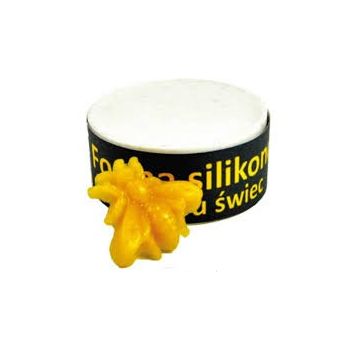
To make your own beeswax candle you will need: - a silicone mold- a wick of appropriate thickness- a rubber band- a toothpick- silicone (Spray) - optional 1) Preparing the mold:We recommend spraying the mold inside with silicone spray which will make it easier to remove the candle at the end of the process. Insert the wick in the center from the bottom and pop it out from the top. Secure the mold with rubber bands to keep it tightly closed. Tie a wick to the toothpick and rest the latter on the top edge. 2) Fill the mold ocn the wax: Melt the wax in a preferably enameled pot, pour it into the mold when it has reached a temperature of 50°C. Pour it slowly into the mold. The time for the wax to solidify depends on the size of the mold and the amount of wax used. 3) Take the candle out of the mold:When the wax is cold, remove the rubber bands, open the mold and take out the candle. Remove the toothpick and cut the wick at the base of the candle, while on the top leave the wick 1 cm long. Spray the candle with silicone spray to give it shine.
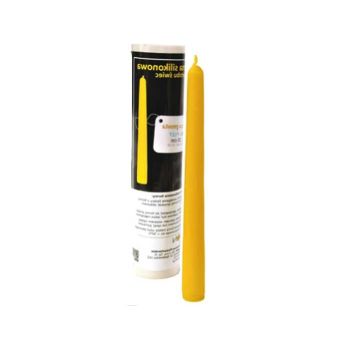
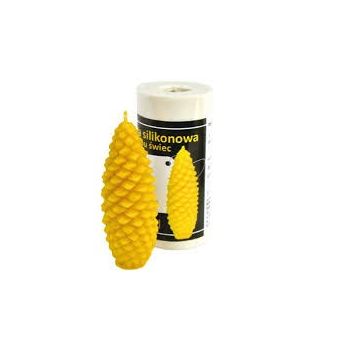
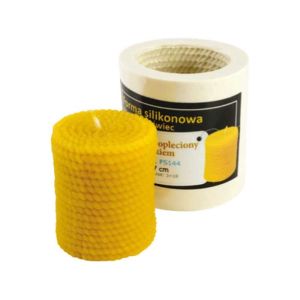
To make your own beeswax candle you will need: - a silicone mold- a wick of appropriate thickness- a rubber band- a toothpick- silicone (Spray) - optional 1) Preparing the mold:We recommend spraying the mold inside with silicone spray which will make it easier to remove the candle at the end of the process. Insert the wick in the center from the bottom and pop it out from the top. Secure the mold with rubber bands to keep it tightly closed. Tie a wick to the toothpick and rest the latter on the top edge. 2) Fill the mold with wax: Melt the wax in a preferably enameled pot, pour it into the mold when it has reached a temperature of 50°C. Pour it slowly into the mold. The time for the wax to solidify depends on the size of the mold and the amount of wax used. 3) Take the candle out of the mold:When the wax is cold, remove the rubber bands, open the mold and take out the candle. Remove the toothpick and cut the wick at the base of the candle, while on the top leave the wick 1 cm long. Spray the candle with silicone spray to give it shine.
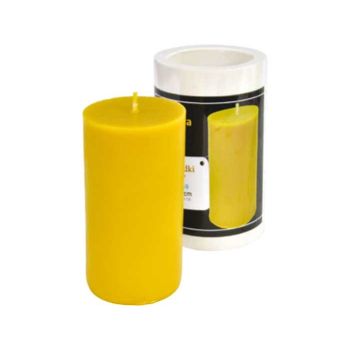
To make your own beeswax candle you will need: - a silicone mold- a wick of appropriate thickness- a rubber band- a toothpick- silicone (Spray) - optional 1) Preparing the mold:We recommend spraying the mold inside with silicone spray which will make it easier to remove the candle at the end of the process. Insert the wick in the center from the bottom and pop it out from the top. Secure the mold with rubber bands to keep it tightly closed. Tie a wick to the toothpick and rest the latter on the top edge. 2) Fill the mold ocn the wax: Melt the wax in a preferably enameled pot, pour it into the mold when it has reached a temperature of 50°C. Pour it slowly into the mold. The time for the wax to solidify depends on the size of the mold and the amount of wax used. 3) Take the candle out of the mold:When the wax is cold, remove the rubber bands, open the mold and take out the candle. Remove the toothpick and cut the wick at the base of the candle, while on the top leave the wick 1 cm long. Spray the candle with silicone spray to give it shine.
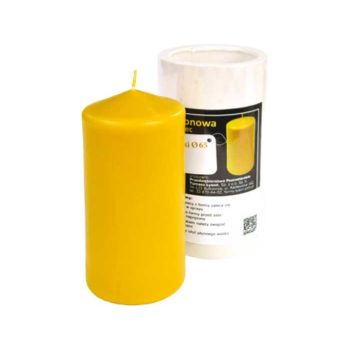
To make your own beeswax candle you will need: - a silicone mold- a wick of appropriate thickness- a rubber band- a toothpick- silicone (Spray) - optional 1) Preparing the mold:We recommend spraying the mold inside with silicone spray which will make it easier to remove the candle at the end of the process. Insert the wick in the center from the bottom and pop it out from the top. Secure the mold with rubber bands to keep it tightly closed. Tie a wick to the toothpick and rest the latter on the top edge. 2) Fill the mold ocn the wax: Melt the wax in a preferably enameled pot, pour it into the mold when it has reached a temperature of 50°C. Pour it slowly into the mold. The time for the wax to solidify depends on the size of the mold and the amount of wax used. 3) Take the candle out of the mold:When the wax is cold, remove the rubber bands, open the mold and take out the candle. Remove the toothpick and cut the wick at the base of the candle, while on the top leave the wick 1 cm long. Spray the candle with silicone spray to give it shine.
To make your own beeswax candle you will need: - a silicone mold- a wick of appropriate thickness- a rubber band- a toothpick- silicone (Spray) - optional 1) Preparing the mold:We recommend spraying the mold inside with silicone spray which will make it easier to remove the candle at the end of the process. Insert the wick in the center from the bottom and pop it out from the top. Secure the mold with rubber bands to keep it tightly closed. Tie a wick to the toothpick and rest the latter on the top edge. 2) Fill the mold ocn the wax: Melt the wax in a preferably enameled pot, pour it into the mold when it has reached a temperature of 50°C. Pour it slowly into the mold. The time for the wax to solidify depends on the size of the mold and the amount of wax used. 3) Take the candle out of the mold:When the wax is cold, remove the rubber bands, open the mold and take out the candle. Remove the toothpick and cut the wick at the base of the candle, while on the top leave the wick 1 cm long. Spray the candle with silicone spray to give it shine.
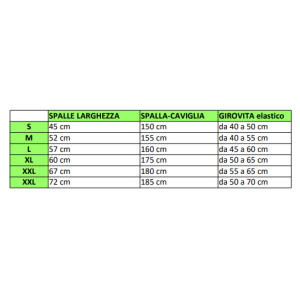
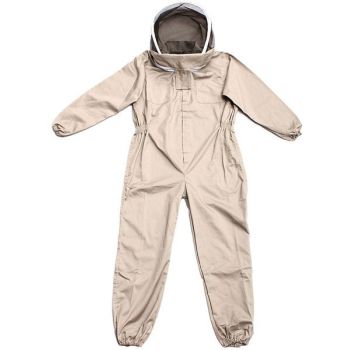
Yellow cotton beekeeper coverall with fully removable zippered mask. Front opening and elastic cuffs at wrists and ankles.
Tensor de hilo ZIGRINATOR (PATENTE QUARTI), para tensar hilos sueltos en bastidores