Onetti Giorgio Erboristeria Apistica Sale of beekeeping equipment, hives, honey extractors and settling tanks, herbal products, supplements, food items, honey and pollen from Valtellina.
Filter (pair) for respiratory protection class a1 for semi-mask or mask model 3m 6000/7000
GS 458382
€39.00
Tax included
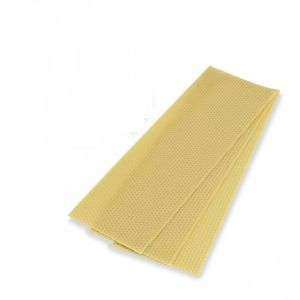
Filters (class A1) for organic gases and vapors model 3M 6051 are suitable for paints, solvents, organic fumes (e.g., oxalic acid) and nuisance odors.Pack of 2 piecesFor masks (Code. GS 111522-6200) Features:Suitable for 3M 6000 series 3M semi-masks and full-face masks and 7000 series 3M The dual-filter design offers good balance and a panoramic viewFilters can be used with all 3M semi-mask and full-face respirators equipped with a bayonet coupling systemBayonet coupling allows the filters to be easily snapped on
3M filter with bayonet attachment for use with 3M semi-masks and full face masks, for protection of the respiratory tract from organic vapors (with boiling point above 65°C) with limit of 1000 parts per million. Applications: beekeeping, spray paint and solvent use (mek, toluene), painting operations, production of inks, dyes, resins, chemical industry CE:EN 14387
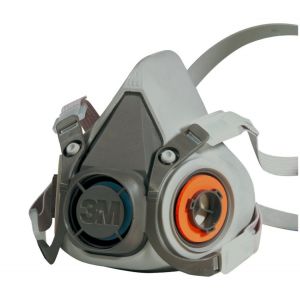
The 3M 6200 reusable semi-mask respirator is easy to use, lightweight and requires minimal maintenance. Filters are supplied separately. The nape cap is designed to ensure a snug fit and to make it easy to fasten behind the neck. The soft elastomeric facepiece and light weight (82 g) provide excellent comfort even for prolonged periods of work. The compact design minimizes obstruction of the field of view and makes it easy to handle. The two-side filter attachment system provides minimal resistance to breathing.
Filters (class A1) for organic gases and vapors model 3M 6051 are suitable for paints, solvents, organic fumes (e.g., oxalic acid) and nuisance odors.Pack of 2 piecesFor masks (Code. GS 111522-6200) Features:Suitable for 3M 6000 series 3M semi-masks and full-face masks and 7000 series 3M The dual-filter design offers good balance and a panoramic viewFilters can be used with all 3M semi-mask and full-face respirators equipped with a bayonet coupling systemBayonet coupling allows the filters to be easily snapped on